Mimikyu - Free amigurumi pattern
|
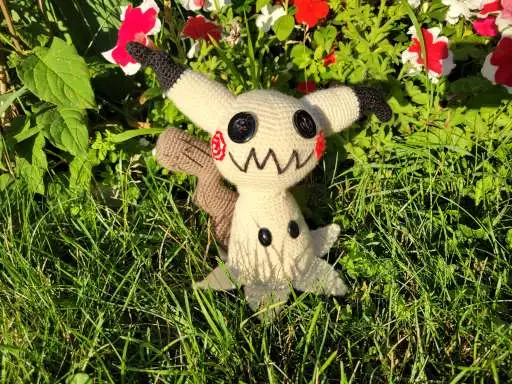
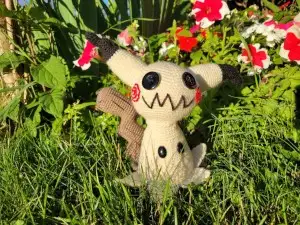
Have you ever wanted to crochet a Mimikyu Pokémon since Sun and Moon came out? If so, then you are in luck! In this post, there is free instructions for making yourself a Mimikyu amigurumi. He is a cute Pokémon that just wants to be loved by humans the way Pikachu is. Unfortunately, the poor fella’s true appearance can cause severe illness or even be fatal. He even becomes aggressive if you try to look under the cloak. This pattern is perfect for beginners who want to learn how to crochet this adorable character! Be warned there is a decent amount of sewing for this, which I know can be a turn away from some people. But the attachment of the pieces does not have to be perfect, it will just add to the home made costume appearance. Trust me the end result will be worth it! You can make this adorable little guy for yourself or as an awesome gift for someone else. If you do use this pattern, please @CrochetCacheCA on social media. I would love to see the results! |

Materials and Information
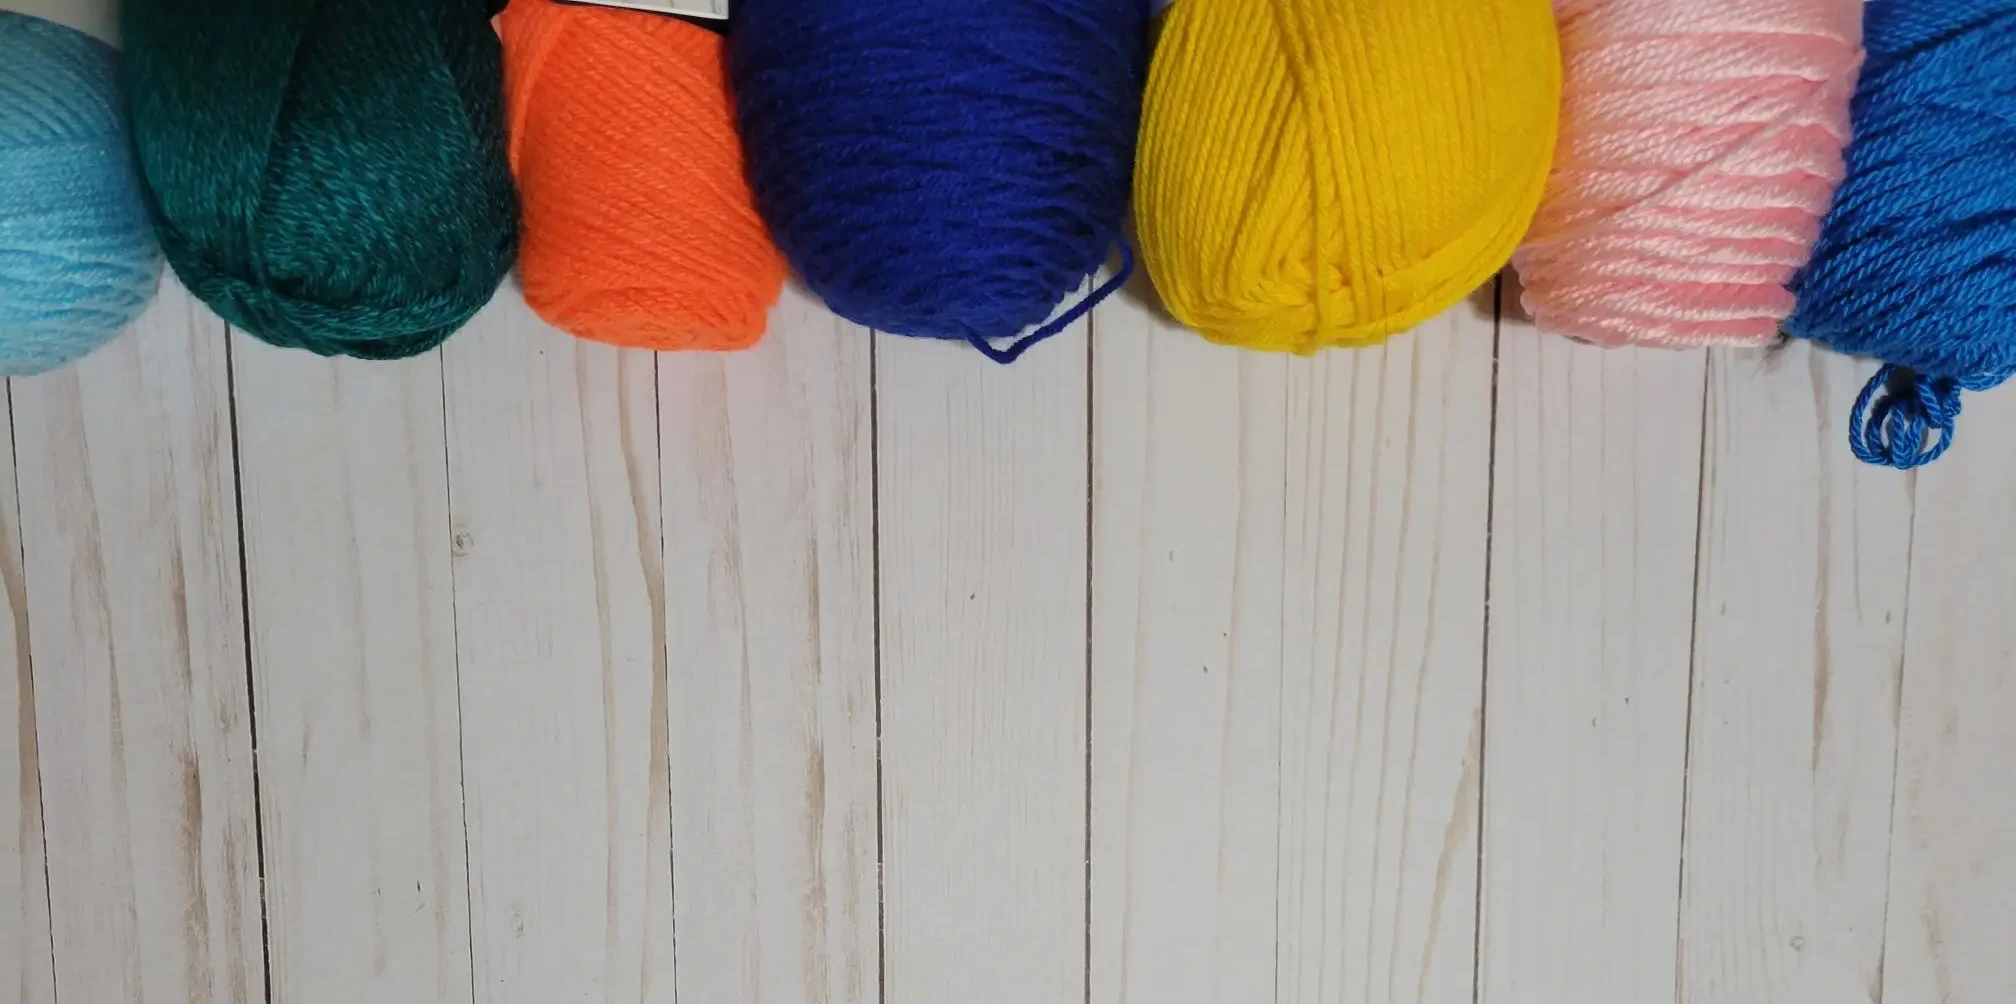
Yarns:
**All yarns are in Weight 4 - Medium / Worsted
- Aran - Bernat Premium
- Cherry Red - Red Heart Super Saver
- Black - Red Heart Super Saver
- Barley - Impeccable Loops & Threads
US Crochet Terms
Abbreviations:
- Rnd(s): Round(s)
- Row(s): Row(s)
- sc: Single Crochet
- dc: Double Crochet
- inv dec: Invisible decrease
- dec: Decrease
- inc: Increase
- dc inc: Increase but with double crochets
- blo: Back loop only.
- cc: Colour Change, followed by the colour
- sl st: Slip Stitch
Additional Materials:
- - Black - Aunt Lydia's Crochet Thread - Fashion 3 (1 Super Fine)
- - 17mm Solid Black Oval Safety Eyes (optional)
- - 25mm black buttons (optional)
- - 3.5mm crochet hook
- - Bent Yarn needles
- - Scissors
Tips:
- - Keep track of beginning of rows by using a marker
- - 4.5mm crochet hook
- - Crochet this toy with tight stitches, helps not show the stuffing through
- - To keep details such as increases, make sure to add extra stuffing in these areas as you stuff them.
Use Policies:
You may not redistribute, sell or claim this pattern in it entirety, or in part of, as your own design/pattern
You are welcome to sell finish products made from this pattern, as long as you provide credit for the pattern as 'Pattern by Crochet Cache' if posted on a social platform other than Facebook, Instagram, Twitter. Else provide credit as 'Pattern by @CrochetCacheCA' on Instagram, Twitter or Facebook.
I am not responsible for any legal repercussions that may incur, this character is not licensed by me.
Mimikyu is property of the Pokemon franchise, I have no ownership of this character in any way. It is property of Nintendo.
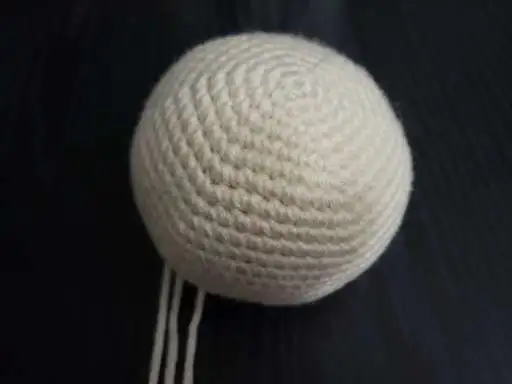
Head & Body
| Rnd 1 | Aran - 6sc in Magic Circle (6) |
| Rnd 2 | 6inc (12) |
| Rnd 3 | (1sc, inc) x 6 (18) |
| Rnd 4 | (2sc, inc) x 6 (24) |
| Rnd 5 | (3sc, inc) x 6 (30) |
| Rnd 6 | (4sc, inc) x 6 (36) |
| Rnd 7 | (5sc, inc) x 6 (42) |
| Rnd 8 | (6sc, inc) x 6 (48) |
| Rnd 9 | (7sc, inc) x 6 (54) |
| Rnd 10 | (8sc, inc) x 6 (60) |
| Rnd 11 | (9sc, inc) x 6 (66) |
| Rnds 12-19 | 66sc (66) |
| Rnd 20 | (9sc, inv dec) x 6 (60) |
| Rnd 21 | (8sc, inv dec) x 6 (54) |
| Rnd 22 | (7sc, inv dec) x 6 (48) |
| Rnd 23 | (6sc, inv dec) x 6 (42) |
| Rnd 24 | (5sc, inv dec) x 6 (36) |
| Rnd 25 | (4sc, inv dec) x 6 (30) |
| Rnd 26 | (3sc, inv dec) x 6 (24) - Start Stuffing |
| Rnd 27 | 24sc (24) |
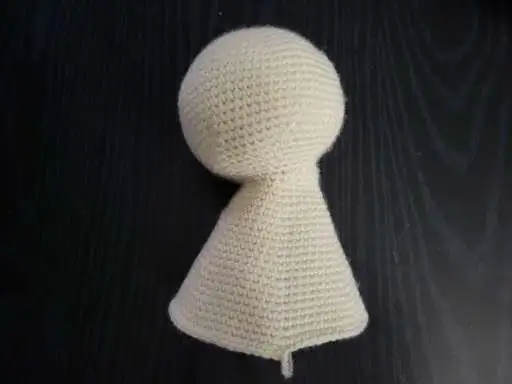
| Neck Bend | 12sc, turn work skip a stitch 12sc, turn work skip a stitch 24sc around entire work (24) |
| Continue Rnd 28 |
24sc (24) |
| Rnd 29 | (3sc, inc) x 6 (30) |
| Rnds 30-31 | 30sc (30) |
| Rnd 32 | (4sc, inc) x 6 (36) |
| Rnds 33-34 | 36sc (36) |
| Rnd 35 | (5sc, inc) x 6 (42) |
| Rnds 36-37 | 42sc (42) |
| Rnd 38 | (6sc, inc) x 6 (48) |
| Rnds 39-40 | 48sc (48) |
| Rnd 41 | (7sc, inc) x 6 (54) |
| Rnds 42-43 | 54sc (54) |
| Rnd 44 | (8sc, inc) x 6 (60) |
| Rnds 45-46 | 60sc (60) |
| Rnd 47 | (9sc, inc) x 6 (66) |
| Rnds 48-49 | 66sc (66) - sl st, leave tail |
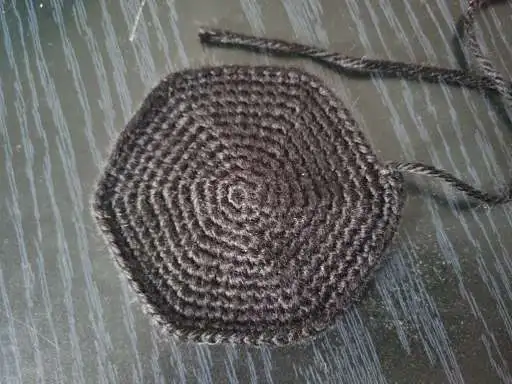
Bottom
| Rnd 1 | Black- 6sc in Magic Circle (6) |
| Rnd 2 | 6inc (12) |
| Rnd 3 | (sc, inc) x 6 (18) |
| Rnd 4 | (2sc, inc) x 6 (24) |
| Rnd 5 | (3sc, inc) x 6 (30) |
| Rnd 6 | (4sc, inc) x 6 (36) |
| Rnd 7 | (5sc, inc) x 6 (42) |
| Rnd 8 | (6sc, inc) x 6 (48) |
| Rnd 9 | (7sc, inc) x 6 (54) |
| Rnd 10 | (8sc, inc) x 6 (60) |
| Rnd 11 | (9sc, inc) x 6 (66) - sl st, leave long tail |
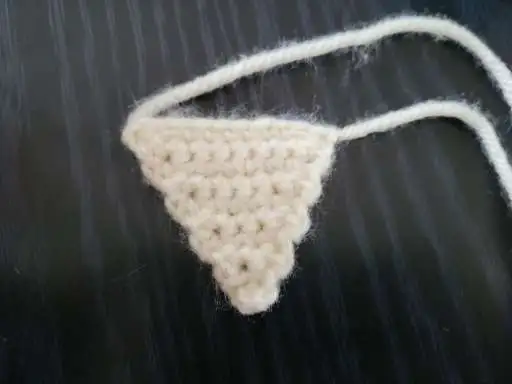
Skirt
**Make Six Aran & Six Black - 12 Total**
| Row 1 | Aran or Black - Chain 11, skip stitch closest to the hook, 10sc (10) |
| Row 2 | dec, 6sc, dec, chain turn (8) |
| Row 3 | 8sc, chain turn (8) |
| Row 4 | dec, 4sc, dec, chain turn (6) |
| Row 5 | 6sc, chain turn (6) |
| Row 6 | dec, 2sc, dec, chain turn (4) |
| Row 7 | 4sc, chain turn (4) |
| Row 8 | 2dec, chain turn (2) |
| Row 9 | 2sc, chain turn (2) |
| Row 10 | dec, pull end through - Leave long tail and weave through side opposite of the starting string. |
Right Ear
| Rnd 1 | Black - 4sc in magic circle (4) |
| Rnd 2 | 4inc (8) |
| Rnds 3-5 | 8sc (8) |
| Rnd 6 | 2inv dec, sc, 2inc, sc (8) |
| Rnd 7 | 4sc, 4inc (12) |
| Rnd 8 | 12sc (12) |
| Rnds 9-10 | 2inc, 4sc, 2inv dec, 4sc (12) |
| Rnd 11 | (3sc, inc) x 3 (15) |
| Rnd 12 | (4sc, inc) x 3 (18) |
| Rnd 13 | 18sc (18) |
| Rnd 14 | cc (aran), 17sc (18) |
| Rnd 15 | (5sc, inc) x 3 (21) |
| Rnds 16-18 | 21sc (21) |
| Rnd 19 | (6sc, inc) x 3 (24) |
| Rnds 20-26 | 24sc (24) - after last rnd sl st leave long tail. Stuff ear |
Left Ear
| Rnd 1 | Black - 4sc in magic circle (4) |
| Rnd 2 | 4inc (8) |
| Rnds 3-6 | 8sc (8) |
| Rnd 7 | 4sc, 8 dc inc (12) |
| Rnd 8 | 12sc (12) |
| Rnds 9-10 | 4sc, 8 dc (12) |
| Rnd 11 | (3sc, inc) x 3 (15) |
| Rnd 12 | (4sc, inc) x 3 (18) |
| Rnd 13 | 18sc (18) |
| Rnd 14 | cc (aran), 17sc (18) |
| Rnd 15 | (5sc, inc) x 3 (21) |
| Rnds 16-18 | 21sc (21) |
| Rnd 19 | (6sc, inc) x 3 (24) |
| Rnds 20-26 | 24sc (24) - after last rnd sl st leave long tail. Stuff ear |
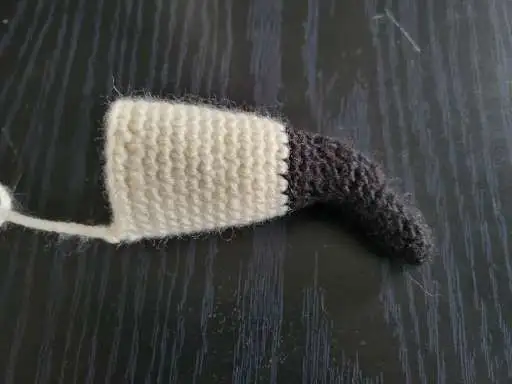
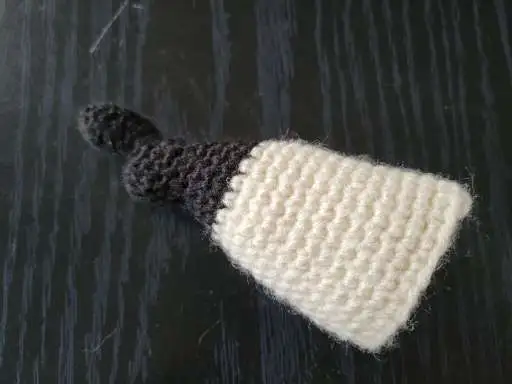
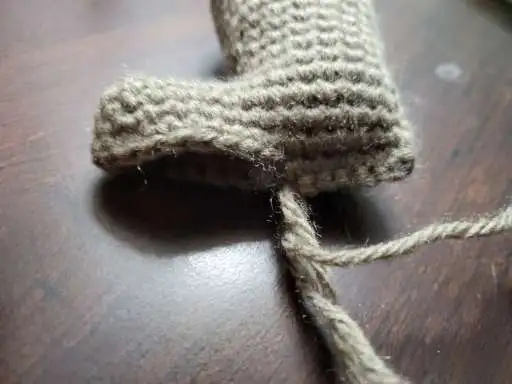
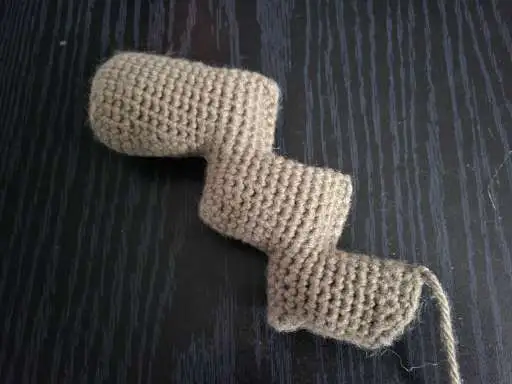
Tail
| Barley - chain 6, skip stitch closest to the hook, 4sc, 3sc in same stitch, 5sc, inc (12) | |
| Rnd 1 | inc, 2sc, 3inc, 4sc, 2inc (18) |
| Rnd 2 | (6sc, 3inc) x 2 (24) |
| Rnd 3 | 24sc blo (24) |
| Rnds 4-6 | 24sc (24) |
| Rnd 7 | (10sc, dec) x 2 (22) |
| Rnds 8-9 | 22sc (22) |
| Rnd 10 | (9sc, dec) x 2 (20) |
| Rnds 11-12 | 20sc (20) |
| Rnd 13 | (8sc, dec) x 2 (18) |
| Rnd 14 | chain 7, skip stitch closest to the hook, inc in back stitch, 5sc in back stitches of the chain, 18sc (32) |
| Rnds 15-17 | 32sc (32) |
| Rnd 18 | 23sc, stuff, fold in half 7sc through both sides (18) |
| Rnds 19-22 | 18sc (18) |
| Rnd 23 | 9sc, chain 7, skip stitch closest to the hook, inc in back stitches, 5sc in back stitches of the chain, 9sc (32) |
| Rnds 24-27 | 32sc (32) |
| Rnd 28 | Stuff, fold in half 7sc through both sides, 18sc (18) |
| Rnds 29-34 | 18sc (18) |
| Rnd 35 | 5sc, turn work, 10sc, turn work 5sc (18) |
| Rnd 36 | 18sc (18) - sl st, leave long tail to attach to back and front pieces |
Assembly
The best part about assembling this Pokémon, is that nothing has to be perfect. He is a costume covering the actual Pokémon that is assembled by the Mimikyu underneath. If your ears are on different sides or your head tilts the other direction, it does not matter it just makes your Mimikyu unique to you. Because of this it makes the amigurumi perfect for starters as it will look amazing no matter what.
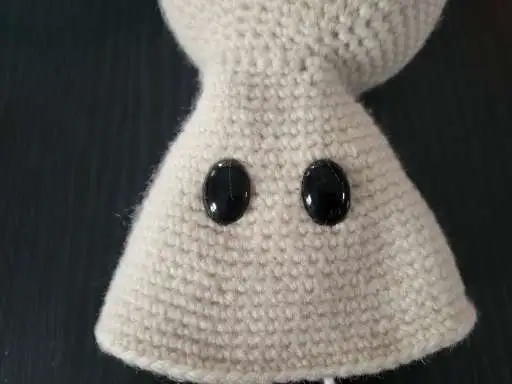
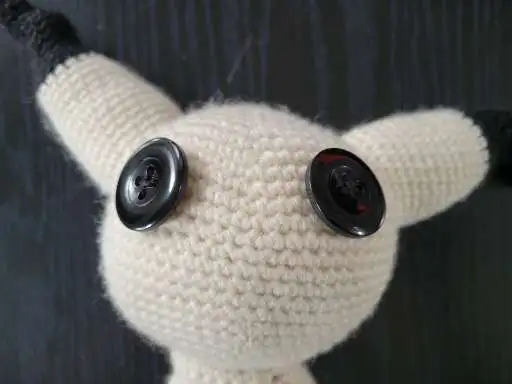
- If using safety eye's attach them roughtly 14 rows up from the bottom of Mimikyu and approximately 7 stitched a part from each other. Honestly once I got here I started to see the Mimikyu in the project and could see the results. Eye oval safety eye really help shape the results. I purchased mine from a seller on Etsy, these eyes seem hard to come by.
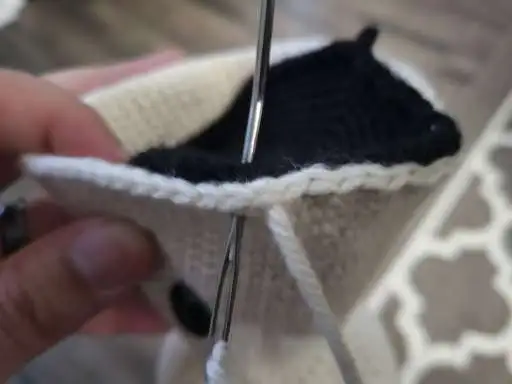
- Stuff the head firmly and stuff the body decent. Align the Bottom's edge with the bottom of the body in and stitch together through both loops (Black and Aran). This leaves an edge to Skirt pieces to, in there matching colours.
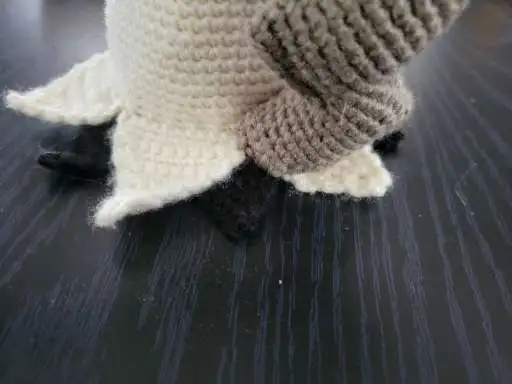
- Attach the aran Skirt pieces to the bottom edge of the body, you may have to adjust these a few times, to get them even. Note: you will stagger the black Skirt pieces, which you want the black to center between the eyes.
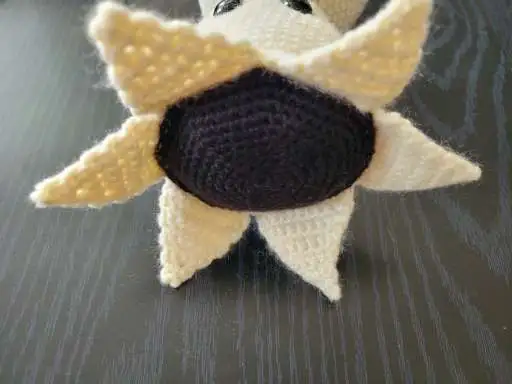
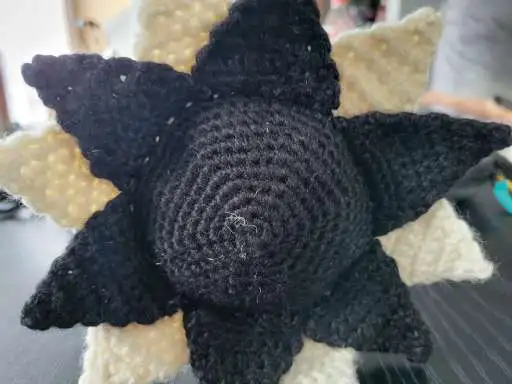
- Attach the black Skirt pieces to the bottom edge of the Bottom, you may have to adjust these a few times, to get them even, again stagger these between the aran Skirt pieces. This should give the appearance the characters actual form is under the costume.
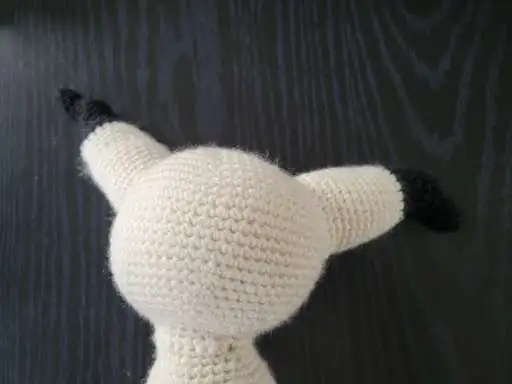
- Attach the left and right Ears to Mimikyu's head, Placed these slight more towards the back of the head to leave room to attach the eyes. As well for stitching on a mouth and cheeks. One of the best parts of this being Mimikyu, is that he is mostly a costume, so it doesn't have to be perfect!
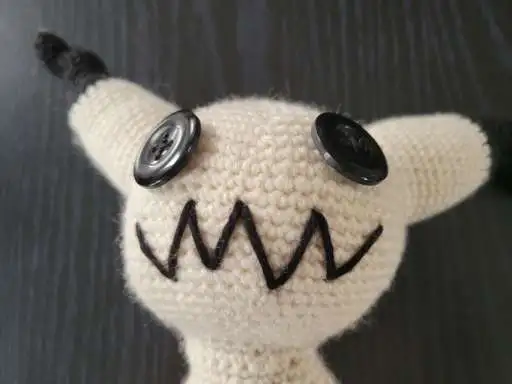
- Stitch on the button eyes. Try and keep them slightly even, but again if they are a little off it ok, as this is a handmade costume from a Pokémon. Option: if you don't have buttons you could always stitch on eyes or crochet eyes. I would says rnd 1: 6mc (6), rnd 2: 6inc (12), rnd 3: (sc, inc) x 6 (18) then sl st. If you feel these are to small or to large go up a round or down a round.
- Stitch on a mouth in a zig zag pattern, I made mine not even to add to the home made costume appearance. Also I use the black yarn used for the bottom and the tip of the ears not crochet thread as I wanted the line to be thicker.
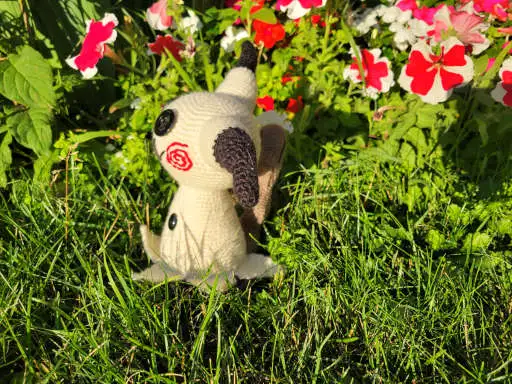
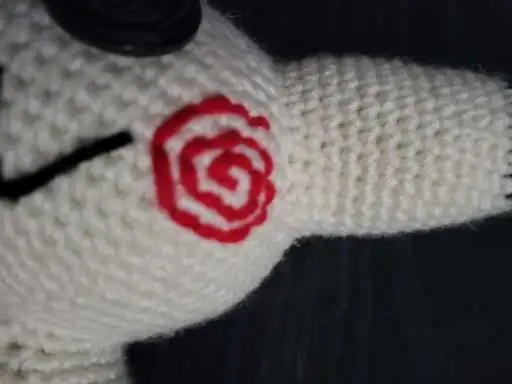
- I stitched on swirl for the cheek patches. Again this is a personal choice, I honeslty am not good at embroidery, but what I did gave the desired look. You could also crochet a small circle like suggested for the eyes but with red yarn. It is completely up to you. I would love to see peoples own spin on this project.
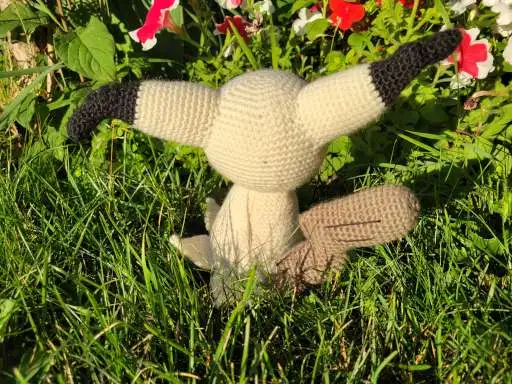
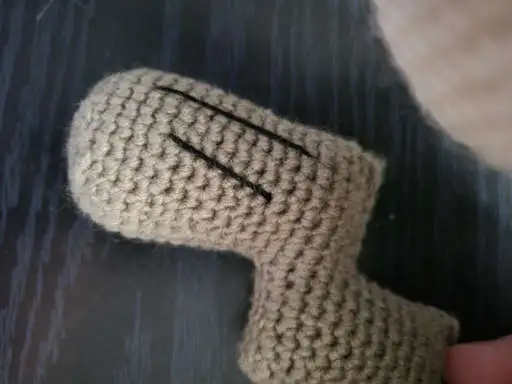
- I stitched one side to the bottom of the body to add strength the rest is stitched to the aran Skirt you see in the image. Which you do see the stitch from the bottom side of the project. Also feed the yarn through the body and attach higher up on the tail to help keep it up. Secure and pull end piece through the body and cut tail.
- Using crochet thread, stitch two lines at the top of the tail to make it look like the wooden tail in the show. I did do this to both side of the tail so you see the detail from each angle.
YOUR DONE!
Conclusion
Now you should have a complete Mimikyu for your self or that Pokefan in your life! Hope you had fun working on this project, and I cannot wait to see what you come up with on social media!
I originally thought that this project will be not like by many as there is a lot of sewing. But the more I worked on it and wrote up this pattern, I realized that this project is a great starting project because it doesn't have to be perfect it will turn out no matter what as this character is wearing a home made costume that he patches him self. I hope you enjoyed this project; it was super fun to design! If you have any questions, do not hesitate to contact me.