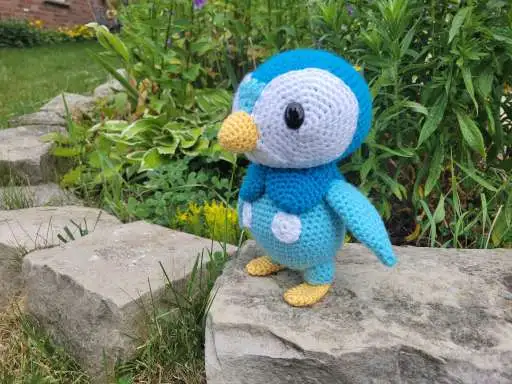
Piplup - Free amigurumi pattern
|
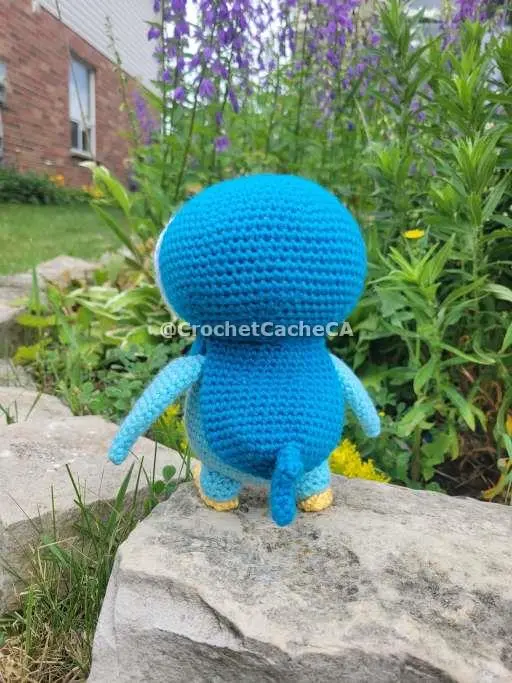
Piplup is the water starter type Pokémon in the third generation of the series (Sinnoh region). He is a cute little penguin, This little guy would have been my first choice as the starter option and is the choice of many fans. Now is your chance to create this cute starter, for that Pokemon fan in your life or for your self! This post will take you through the process in crocheting to make an amigurumi Piplup. If you do use this pattern, please @CrochetCacheCA on social media. I would love to see the results! |
Materials and Information
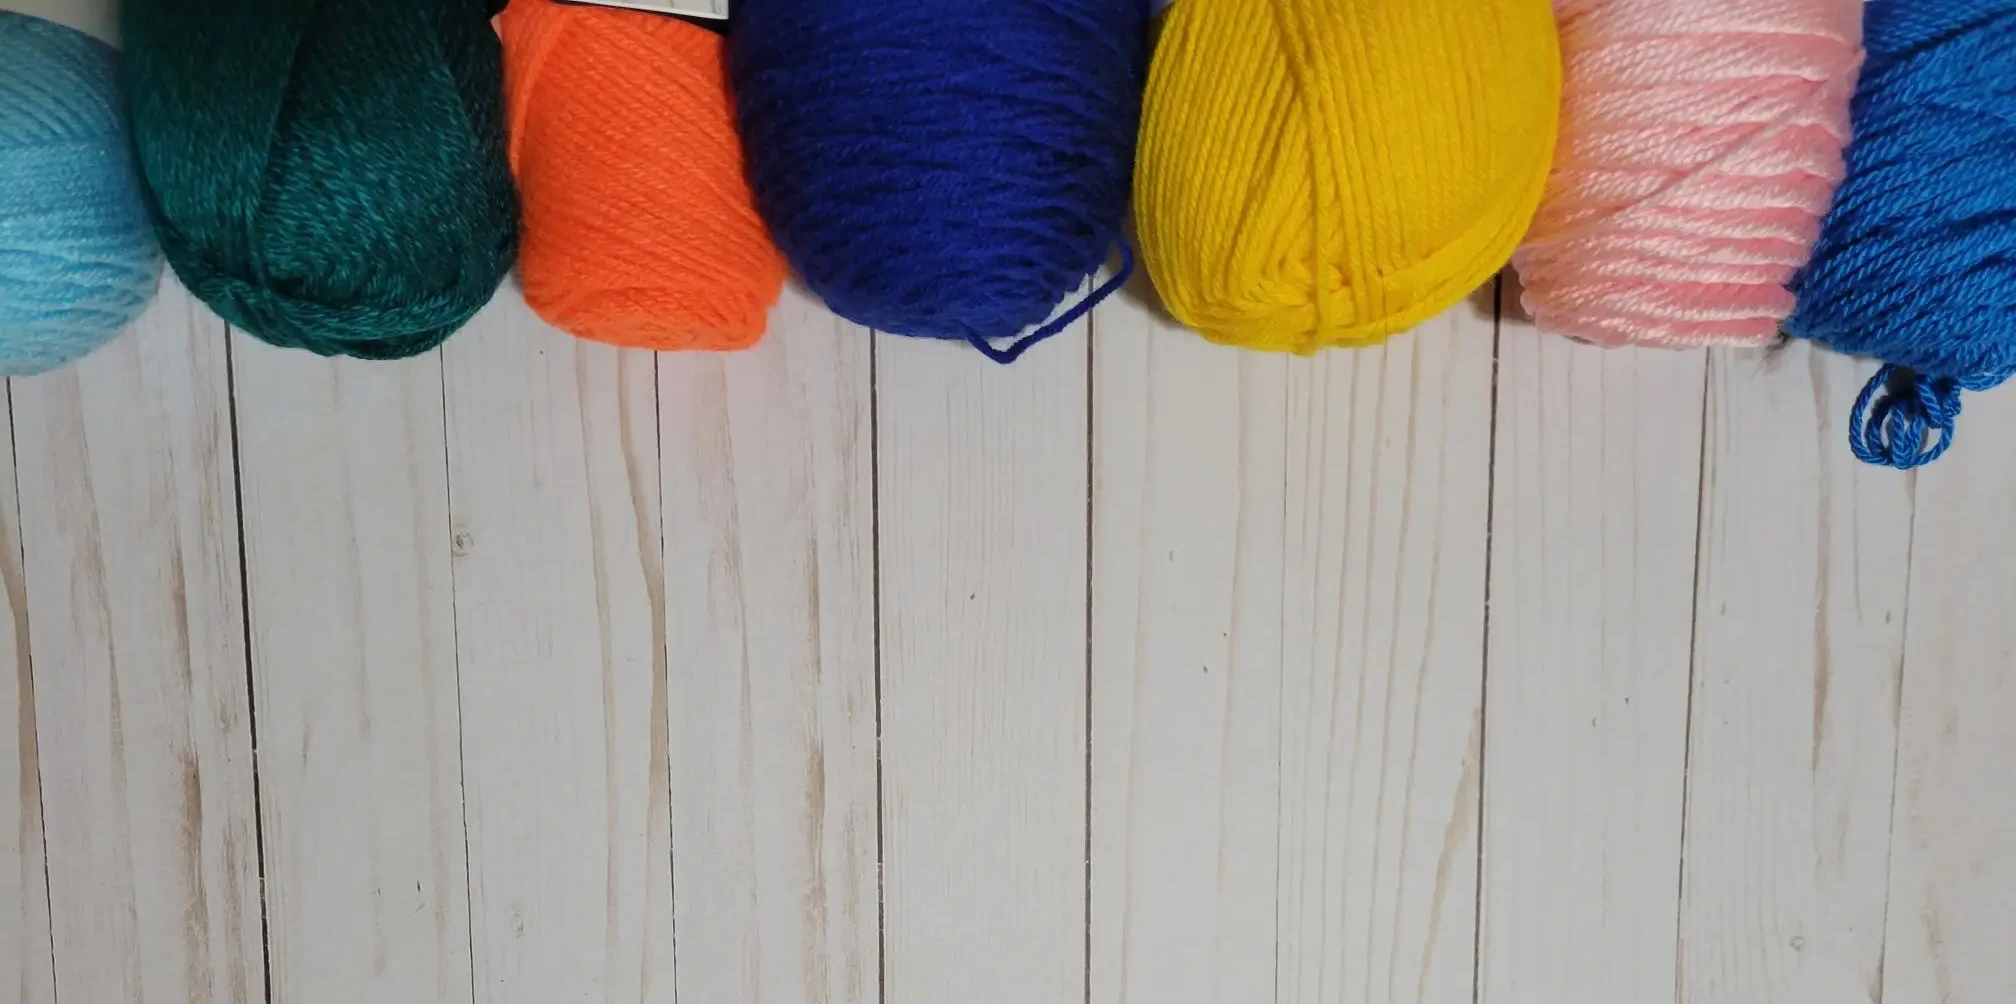
Yarns:
**All yarns are in Weight 4 - Medium / Worsted
- Aqua - Craftsmart
- Bright Sky Blue - Loops & Threads - Impeccable
- White - Red Heart Soft
- Sunshine - Caron - Simply Soft
US Crochet Terms
Abbreviations:
- Rnd(s): Round(s)
- Row(s): Row(s)
- sc: Single Crochet
- inv dec: Invisible decrease
- dec: Decrease
- inc: Increase
- cc: Colour Change, followed by the colour
- sl st: Slip Stitch
Additional Materials:
- - 4.5mm crochet hook
- - Bent Yarn needles
- - Scissors
Tips:
- - Keep track of beginning of rows by using a marker
- - 4.5mm crochet hook
- - Crochet this toy with tight stitches, helps not show the stuffing through
- - To keep details such as increases, make sure to add extra stuffing in these areas as you stuff them.
Use Policies:
You may not redistribute, sell or claim this pattern in it entirety, or in part of, as your own design/pattern
You are welcome to sell finish products made from this pattern, as long as you provide credit for the pattern as 'Pattern by Crochet Cache' if posted on a social platform other than Facebook, Instagram, Twitter. Else provide credit as 'Pattern by @CrochetCacheCA' on Instagram, Twitter or Facebook.
I am not responsible for any legal repercussions that may incur, this character is not licensed by me.
Piplup is property of the Pokemon franchise, I have no ownership of this character in any way. It is property of Nintendo.
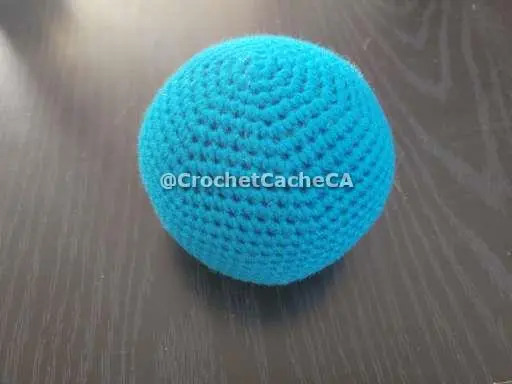
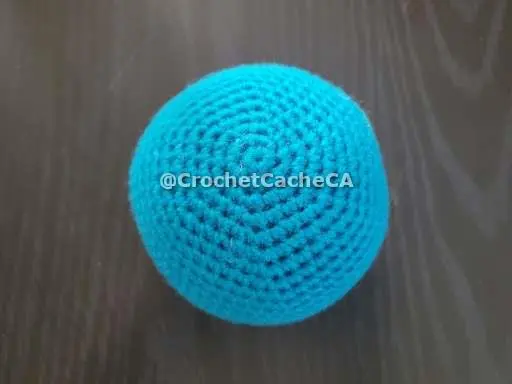
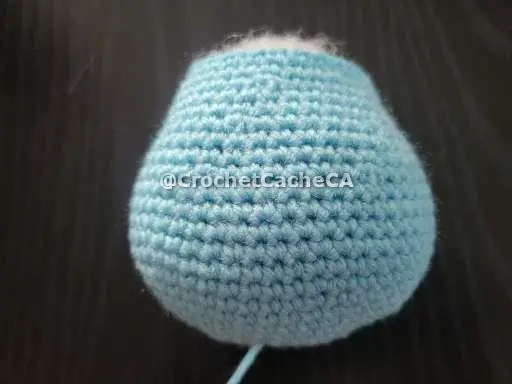
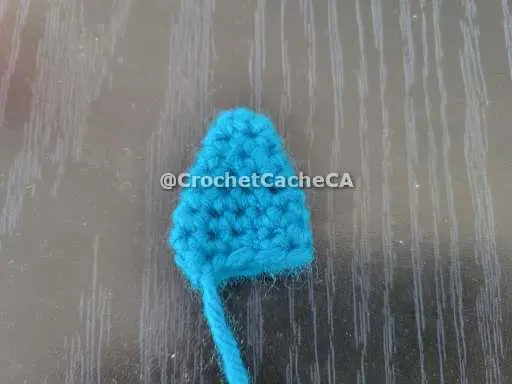
Head
| Rnd 1 | Blue - 6sc in Magic Circle (6) |
| Rnd 2 | 6inc (12) |
| Rnd 3 | (1sc, inc) x 6 (18) |
| Rnd 4 | (2sc, inc) x 6 (24) |
| Rnd 5 | (3sc, inc) x 6 (30) |
| Rnd 6 | (4sc, inc) x 6 (36) |
| Rnd 7 | (5sc, inc) x 6 (42) |
| Rnd 8 | (6sc, inc) x 6 (48) |
| Rnd 9 | (7sc, inc) x 6 (54) |
| Rnd 10 | (8sc, inc) x 6 (60) |
| Rnd 11 | (9sc, inc) x 6 (66) |
| Rnds 12-19 | 66sc (66) |
| Rnd 20 | (9sc, inv dec) x 6 (60) |
| Rnd 21 | (8sc, inv dec) x 6 (54) |
| Rnd 22 | (7sc, inv dec) x 6 (48) |
| Rnd 23 | (6sc, inv dec) x 6 (42) |
| Rnd 24 | (5sc, inv dec) x 6 (36) |
| Rnd 25 | (4sc, inv dec) x 6 (30) |
| Rnd 26 | (3sc, inv dec) x 6 (24) - Start Stuffing |
| Rnd 27 | (2sc, inv dec) x 6 (18) |
| Rnd 28 | (1sc, inv dec) x 6 (12) |
| Rnd 29 | 6inv dec (6) - sl st, leave tail - Stitch the remaining 6 loops together then tighten all stitches fasten off and cut and hide remaining tail. |
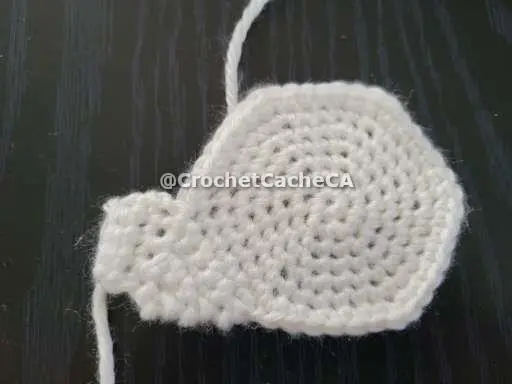
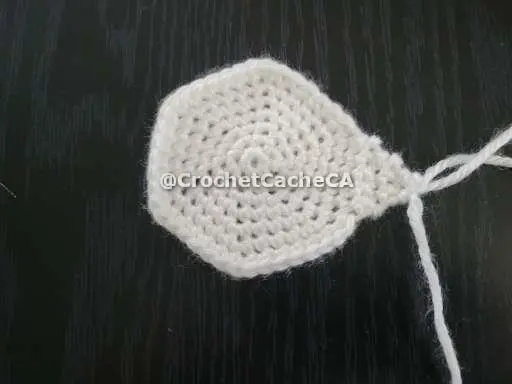
Face Mask - Left Side
| Rnd 1 | White - 6sc in Magic Circle (6) |
| Rnd 2 | 6inc (12) |
| Rnd 3 | (sc, inc) x 6 (18) |
| Rnd 4 | (2sc, inc) x 6 (24) |
| Rnd 5 | (3sc, inc) x 6 (30) |
| Rnd 6 | (4sc, inc) x 6 (36) |
| Rnd 7 | (5sc, inc) x 6 (42) |
| Triangle | 6sc (6) |
| Chain turn, skip stitch, 5sc (5) | |
| Chain turn, skip stitch, 4sc (4) | |
| Chain turn, skip stitch, 3sc (3) | |
| Chain turn, skip stitch, 2sc (2) | |
| Chain turn, skip stitch, 1sc (1) | |
| Extension | 5sc (5) down the side of the triangle |
| Chain turn, 5sc (5) | |
| Chain turn, 4sc, sl st (5) - Leave tail to attach to the triangle on the right side of the face mask. |
Face Mask - Right Side
| Rnd 1 | White - 6sc in Magic Circle (6) |
| Rnd 2 | 6inc (12) |
| Rnd 3 | (sc, inc) x 6 (18) |
| Rnd 4 | (2sc, inc) x 6 (24) |
| Rnd 5 | (3sc, inc) x 6 (30) |
| Rnd 6 | (4sc, inc) x 6 (36) |
| Rnd 7 | (5sc, inc) x 6 (42) |
| Triangle | 6sc (6) |
| Chain turn, skip stitch, 5sc (5) | |
| Chain turn, skip stitch, 4sc (4) | |
| Chain turn, skip stitch, 3sc (3) | |
| Chain turn, skip stitch, 2sc (2) | |
Chain turn, skip stitch, 1sc (1)
|
Face Mask - Middle
| Row 1 | Aqua - Chain 3, skip stitch closest to the hook, 2sc, chain turn (2) |
| Rows 2-3 | 2sc, chain turn (2) |
| Row 4 | 2inc (4) |
| Row 5 | chain 2, skip stitch closest to the hook, sc into piece, chain 2, skip stitch closest to the hook, sc into piece, chain 2, skip stitch closest to the hook, sl st - Leave long tail to attach to head. |
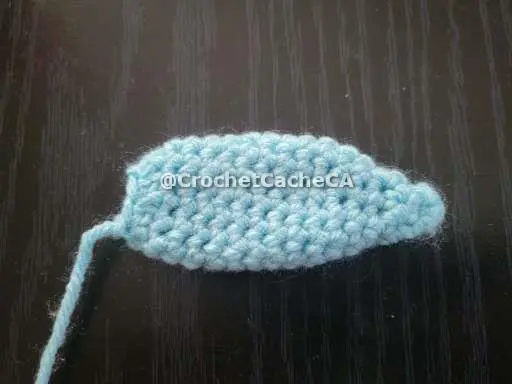
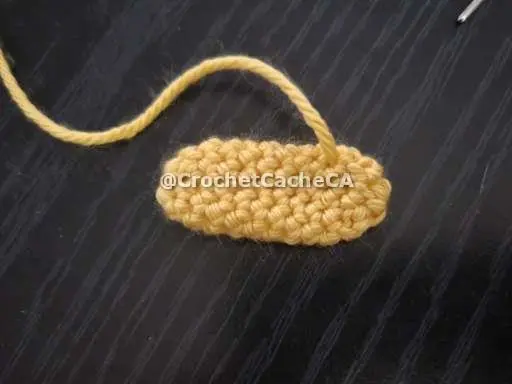
Beak
| Rnd 1 | Sunshine - 6sc in magic circle (6) |
| Rnd 2 | (sc, inc) x 3 (9) |
| Rnd 3 | (2sc, inc) x 3 (12) |
| Rnd 4 | (3sc, inc) x 3 (15) |
| Rnd 5 | (4sc, inc) x 3 (18) |
| Rnds 6-7 | 18sc (18) - sl st, Leave long tail to attach to head. |
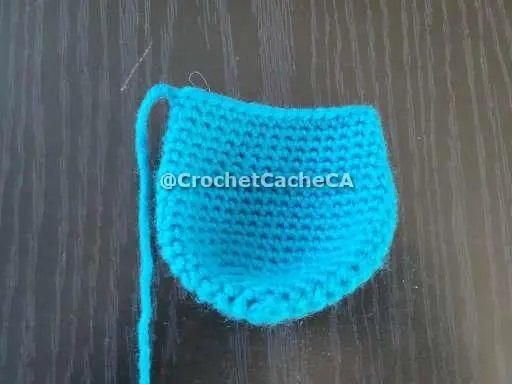
Body
| Aqua - chain 9, skip stitch closest to the hook, 7sc, 3sc in same stitch, continue around the other side of the starting chain, 6sc, inc. This should create an oval to continue in the round (16) | |
| Rnd 1 | inc, 6sc, 3inc, 6sc, 2inc (24) |
| Rnd 2 | inc, 9sc, 3inc, 9sc, 2inc (30) |
| Rnd 3 | inc, 12sc, 3inc, 12sc, 2inc (36) |
| Rnd 4 | 36sc (36) |
| Rnd 5 | (5sc, inc) x 6 (42) |
| Rnd 6 | 42sc (42) |
| Rnd 7 | (6sc, inc) x 6 (48) |
| Rnds 8-12 | 48sc (48) |
| Rnd 13 | (6sc, dec) x 6 (42) |
| Rnds 14-15 | 42sc (42) |
| Rnd 16 | (5sc, dec) x 6 (36) |
| Rnds 17-18 | 36sc (36) |
| Rnd 19 | (4sc, dec) x 6 (30) |
| Rnds 20-21 | 30sc (30) - sl st, leave long tail to attach to back and front pieces |
Arms
**Make Two**
| Rnd 1 | Aqua - 3sc in magic circle (3) |
| Rnd 2 | 3sc (3) |
| Rnd 3 | 3inc (6) |
| Rnd 4 | 6sc (6) |
| Rnd 5 | (sc, inc) x 3 (9) |
| Rnd 6 | 9sc (9) |
| Rnd 7 | (2sc, inc) x 3 (12) |
| Rnds 8-16 | 12sc (12) |
| Rnds 17-18 | 6dec (6) - sl st, leave long tail to attach to body |
Back Piece
| Rnd 1 | Blue - 6sc in Magic Circle (6) |
| Rnd 2 | 6inc (12) |
| Rnd 3 | (1sc, inc) x 6 (18) |
| Rnd 4 | (2sc, inc) x 6 (24) |
| Rnd 5 | (3sc, inc) x 6 (30) |
| Rnd 6 | (4sc, inc) x 6 (36) |
| Rnds 7-13 | 36sc (36) |
| Rnd 14 | (4sc, dec) x 6 (30) |
| Rnds 15-18 | 30sc (30) - sl st, leave long tail |
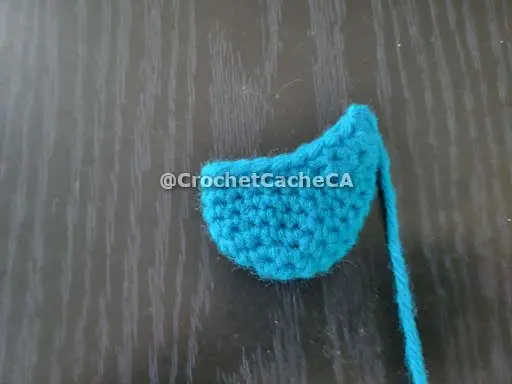
Front Pieces
**Make Two**
| Rnd 1 | Blue - 6sc in Magic Circle (6) |
| Rnd 2 | 6inc (12) |
| Rnd 3 | (sc, inc) x 6 (15) |
| Rnds 4-6 | 18sc (18) |
| Rnd 7 | 9sc, chain turn (9) |
| Rnd 8 | dec, 5sc, dec, chain turn (7) |
| Rnd 9 | dec, 3sc, dec, chain turn (5) |
| Rnd 10 | dec, sc, dec, chain turn (3) |
| Rnd 11 | dec, sc (2) - sc around entire piece then slip stitch - fold piece in half |
Tail Main Piece
| Rnd 1 | Blue - 4sc in Magic Circle (4) |
| Rnd 2 | (sc, inc) x 2 (6) |
| Rnds 3-4 | 6sc (6) |
| Rnd 5 | (sc, inc) x 3 (9) |
| Rnds 6-7 | 9sc (9) |
| Rnd 8 | (2sc, inc) x 3 (12) |
| Rnd 9 | 12sc (12) |
| Rnd 10 | (2sc, dec) x 3 (9) - sl st leave long tail - fold piece in half |
Tail Side Piece
| Rnd 1 | Blue - 4sc in Magic Circle (4) |
| Rnds 2-3 | 4sc (4) |
| Rnd 4 | 2sc, chain turn (2) |
| Rnd 5 | 2sc (2) - sl st leave tail to attach to side of the tail. |
Leg
**Make Two**
| Rnd 1 | Agua- 6sc in Magic Circle (6) |
| Rnd 2 | 6inc (12) |
| Rnd 3 | 12sc BLO (12) |
| Rnd 4 | 12sc (12) |
| Rnd 5 | Chain turn, skip stitch, 4sc, sl st - Leave long tail |
Feet
**Make Two**
| Rnd 1 | Sunshine- 6sc in Magic Circle (6) |
| Rnd 2 | (sc, inc) x 3 (9) |
| Rnds 3-9 | 9sc (9) |
| Rnd 10 | (sc, dec) x 3 (6) - sl st leave long tail and sew shut. feed string through foot use this to attach to bottom of leg. reference image. |
Buttons
**Make Two**
| Rnd 1 | White- 6sc in Magic Circle (6) |
| Rnd 2 | 6inc (12) - sl st leave long tail |
Assembly
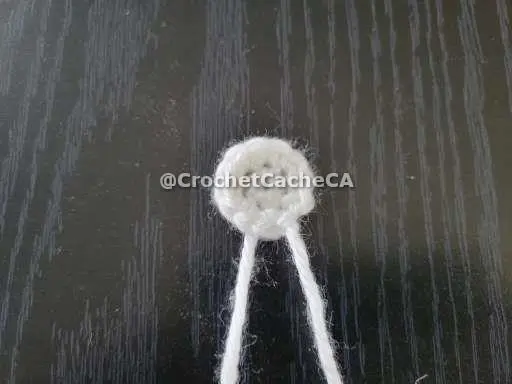
- - Attach the safety eyes to the facemask. I attachment on the third stitch hole from the mc at an upwards angle towards the middle of the mask. Then align it to the head and use the tail of the mask to stitch to the head. I also helped see the remaining safety eye back end into the head to help make it flush. Image 1
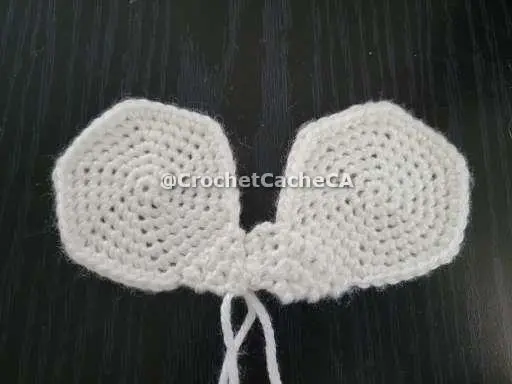
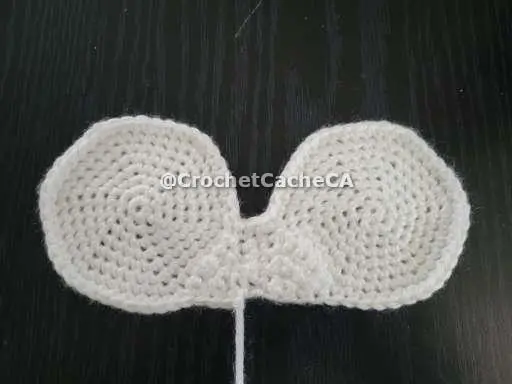
- - Attach the blue face mask piece in the center between the left and right mask pieces. Image 2
- - Attach the beak slightly over the blue part of the face mask and center of the mask.
- - The flatten the back piece, align flat side of the body. Stitch to the top loops of the body and through both sides of the back piece. Image 5
- - Flatten the front pieces with the longer point side towards the back piece and stitch to the top loops of the body and through both sides of the back piece. Images 6 & 7 Finished result should look like Image 8
- - I had a really long tail for one of the front piece and used this to align the head and attach it so the attaching string would be blue and not aqua like the body. Images 9 & 10
- - Attach the arms at the sides of Piplup, slightly upder the front pieces of the body. Image 11
- - Attach the buttons right under the front pieces. Image 12
- - Attach the smaller tail piece to the side of the larger tail piece. Image 13
- - Attach tail to the middle bottom of the back piece. Images 14 & 15
- - Attach the legs evenly apart at the bottom with the taller side towards the arms. Image 16
- - Attach the feet to the bottom of the leg stitching around the magic circle. Images 17 & 18
YOUR DONE!
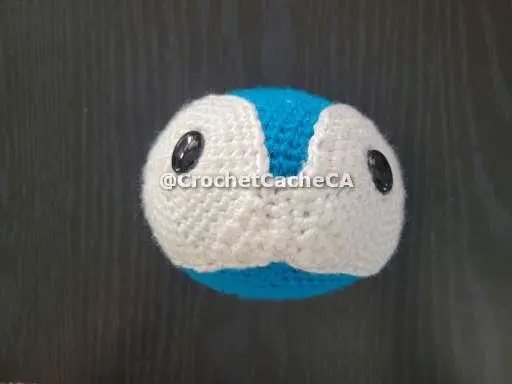
Image 1
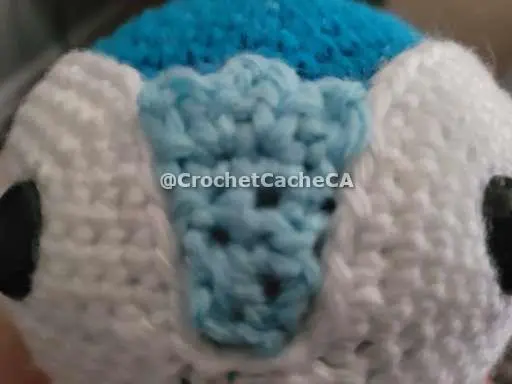
Image 2
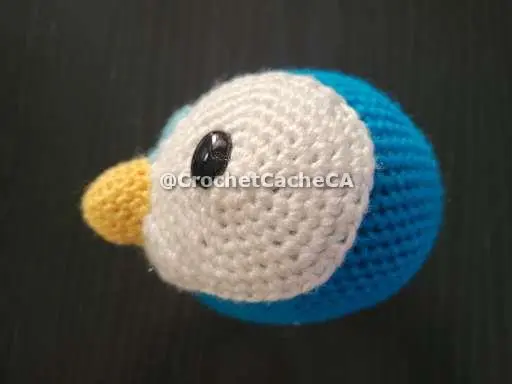
Image 3
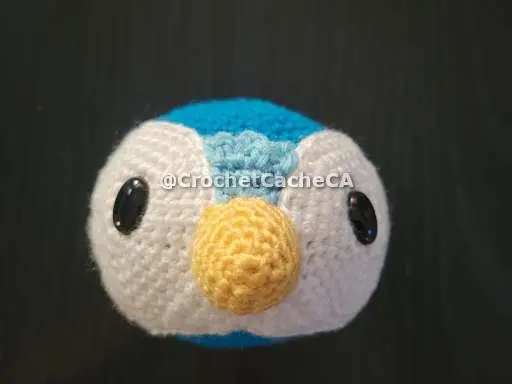
Image 4
Image 5
Image 6
Image 7
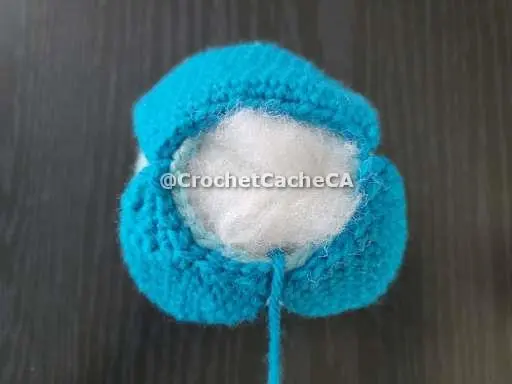
Image 8
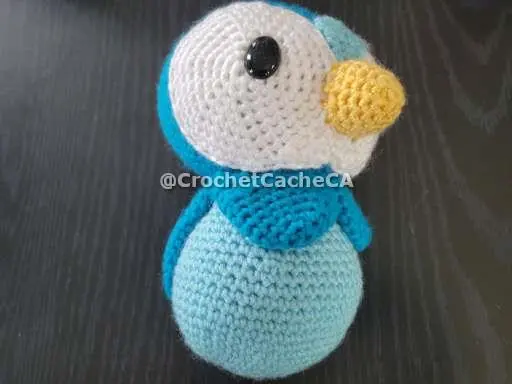
Image 9
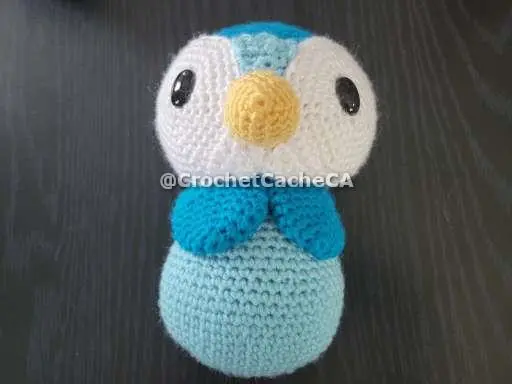
Image 10
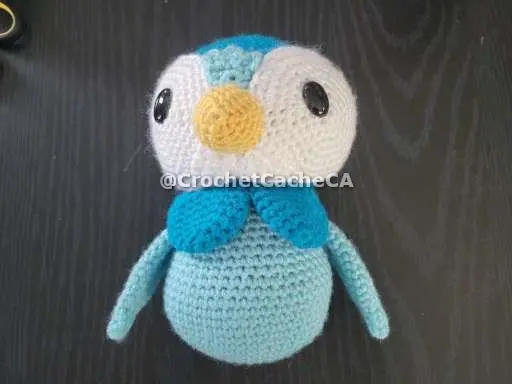
Image 11
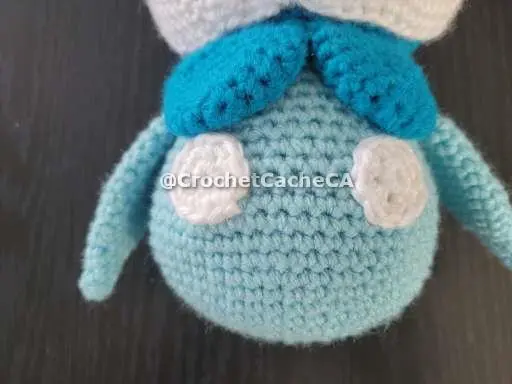
Image 12
Image 13
Image 14
Image 15
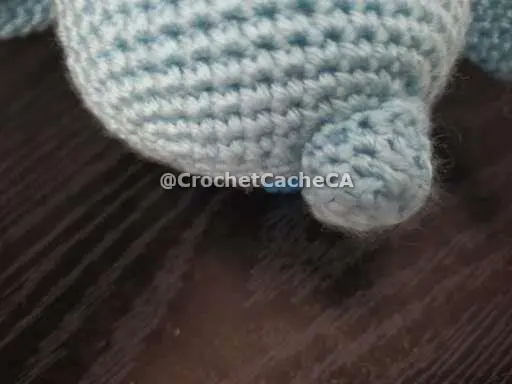
Image 16
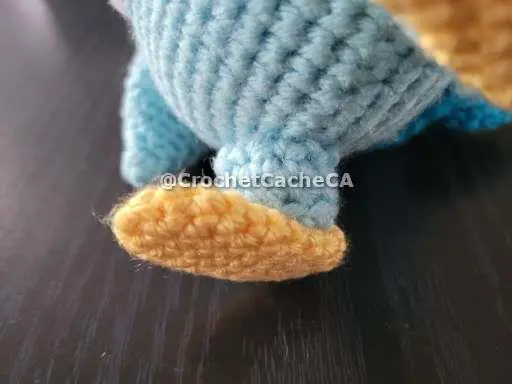
Image 17
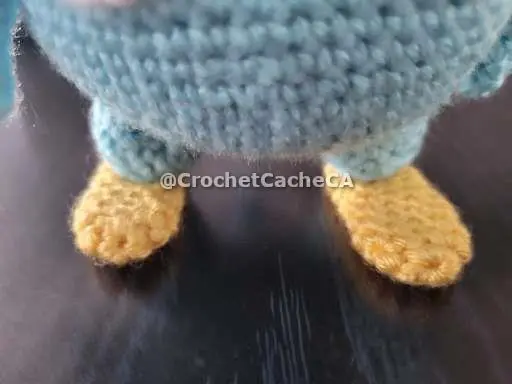
Image 18
Conclusion
Your very own Piplup! Hope you had fun working on this project, and I cannot wait to see what you come up with on social media!
I hope you enjoyed this project; it was super fun to design! If you have any questions, do not hesitate to contact me.