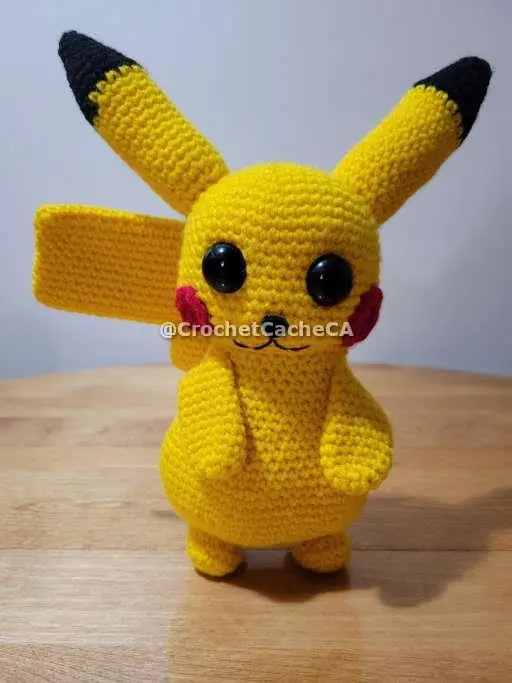
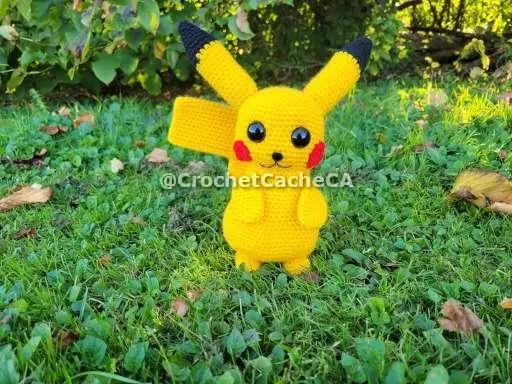
Pikachu - Free amigurumi pattern
|
Pokémon is one of the biggest video game franchises in history, and it has created a wide array of memorable characters over the years that people really love to collect. One of Pokémon’s most popular is Pikachu! This adorable little electric mouse is popular among all ages and genders. I even had a soft spot for him because of the shows. When I got a chance to play and have a Pikachu I never would evolve him. In this post, I will show you how to make your own Pikachu amigurumi. This pattern is not only easy to follow but also beginner-friendly! If you do use this pattern, please @CrochetCacheCA on social media. I would love to see the results! |
Materials and Information
Yarns:
**All yarns are in Weight 4 - Medium / Worsted
- Bright Yellow - Red Heart Super Saver
- Toast - Red Heart Soft
- Cherry Red - Red Heart Super Saver
- Black - Red Heart Super Saver
US Crochet Terms
Abbreviations:
- Rnd(s): Round(s)
- Row(s): Row(s)
- sc: Single Crochet
- dc: Double Crochet
- hdc:Half Double Crochet
- tr: Treble or triple Crochet
- dtr: Double Treble or Quadruple Crochet
- inv dec: Invisible decrease
- dec: Decrease
- dc dec: Double Crochet Decrease
- inc: Increase
- dc inc: Two double crochets in the same stitch
- cc: Colour Change, followed by the colour
- sl st: Slip Stitch
Additional Materials:
- Black - Aunt Lydia's Crochet Thread - Fashion 3 (1 Super Fine)
- Black Safety Eyes 21mm (optional)
- Black Safety Nose 12mm (optional)
- 4.5mm crochet hook
- Bent Yarn needles
- Scissors
Tips:
- - Keep track of beginning of rows by using a marker
- - 4.5mm crochet hook
- - Crochet this toy with tight stitches, helps not show the stuffing through
- - To keep details such as increases, make sure to add extra stuffing in these areas as you stuff them.
Use Policies:
You may not redistribute, sell or claim this pattern in it entirety, or in part of, as your own design/pattern
You are welcome to sell finish products made from this pattern, as long as you provide credit for the pattern as 'Pattern by Crochet Cache' if posted on a social platform other than Facebook, Instagram, Twitter. Else provide credit as 'Pattern by @CrochetCacheCA' on Instagram, Twitter or Facebook.
I am not responsible for any legal repercussions that may incur, this character is not licensed by me.
Pikachu is property of the Pokemon franchise, I have no ownership of this character in any way. It is property of Nintendo.
Head
Begin by making the head. For each row, make sure to use the same number of stitches as specified in the pattern. The head will be worked in rounds.
| Rnd 1 | Yellow - 6sc in Magic Circle (6) |
| Rnd 2 | 6inc (12) |
| Rnd 3 | (1sc, inc) x 6 (18) |
| Rnd 4 | (2sc, inc) x 6 (24) |
| Rnd 5 | (3sc, inc) x 6 (30) |
| Rnd 6 | (4sc, inc) x 6 (36) |
| Rnd 7 | (5sc, inc) x 6 (42) |
| Rnd 8 | (6sc, inc) x 6 (48) |
| Rnds 9-13 | 48sc (48) |
| Rnd 14 | 13sc, inc, 3sc, inv dec, tr(eye marker), inv dec, 4sc, inv dec, tr(eye marker), inv dec, 3sc, inc, 13sc (46) Image 1 |
| Rnd 15 | 14sc, inc, 5sc, inc, 4sc, inc, 5sc, inc, 14sc (50) |
| Rnds 16-17 | 50sc (50) |
| Rnd 18 | 24sc, 2inc, 24sc (52) |
| Rnd 19 | 14sc, inv dec, 8sc, 2inv dec, 8sc, inv dec, 14sc (48) |
| Rnd 20 | (6sc, inv dec) x 6 (42) |
| Rnd 21 | (5sc, inv dec) x 6 (36) Image 2 |
| Rnd 22 | (4sc, inv dec) x 6 (30) - Add the safety eyes and nose if using them Image 3 |
| Rnd 23 | (3sc, inv dec) x 6 (24) - Start Stuffing |
| Rnd 24 | (2sc, inv dec) x 6 (18) |
| Rnd 25 | (1sc, inv dec) x 6 (12) |
| Rnd 26 | 6inv dec (6) - sl st, Stitch the remaining 6 loops together then tighten all stitches fasten off and cut and hide remaining tail.Image 4 |

Image 1
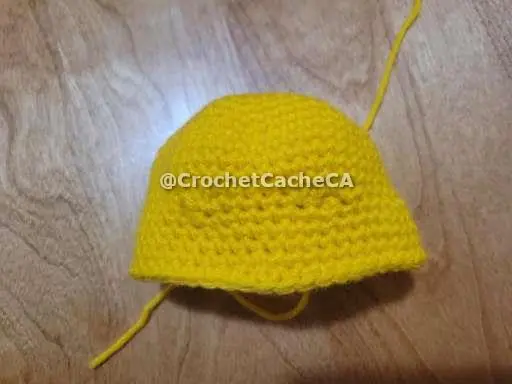
Image 2
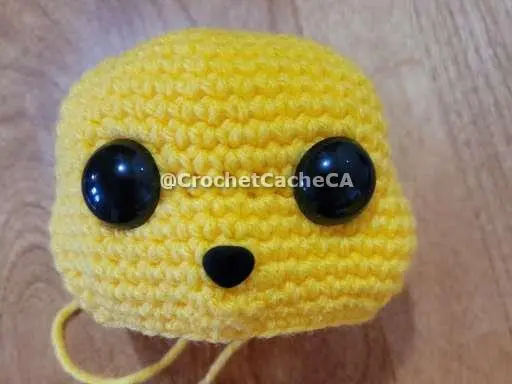
Image 3
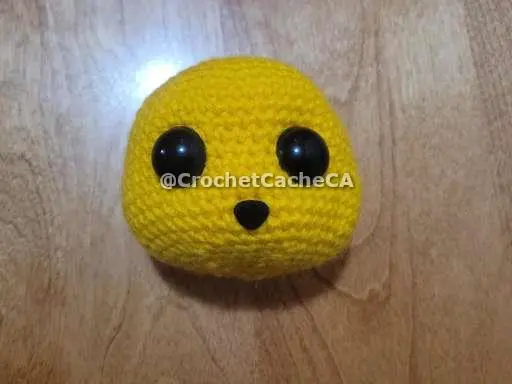
Image 4
Ears
**Make two**
The ears will begin in black and colour change part way through the rounds. For each row, make sure to use the same number of stitches as specified in the pattern. The ears will be worked in rounds.
| Rnd 1 | Black - 3sc in Magic Circle (3) |
| Rnd 2 | 3sc (3) |
| Rnd 3 | 3inc (6) |
| Rnd 4 | 6sc (6) |
| Rnd 5 | (1sc, inc) x 3 (9) |
| Rnd 6 | 9sc (9) |
| Rnd 7 | (2sc, inc) x 3 (12) |
| Rnd 8 | 12sc (12) |
| Rnd 9 | (3sc, inc) x 3 (15) |
| Rnd 10 | 15sc (15) - CC Yellow |
| Rnds 11-22 | 15sc (15) |
| Rnd 23 | (3sc, inv dec) x 3 (12) - sl st, leave long tail to attach to head Image 5 |
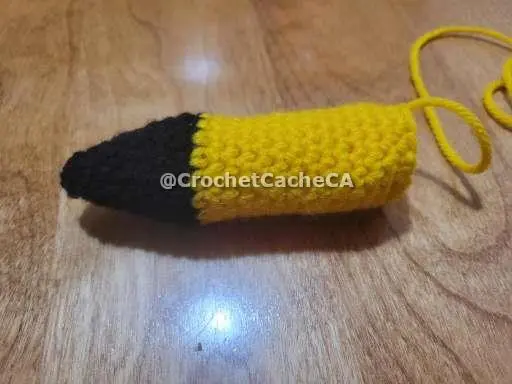
Image 5
Cheeks
**Make two**
Cheeks are quick and simple! Using red yarn follow the instructions below.
| Rnd 1 | Red - 6sc in Magic Circle (6) |
| Rnd 2 | 6inc (12) - sl st leave long tail. Image 6 |
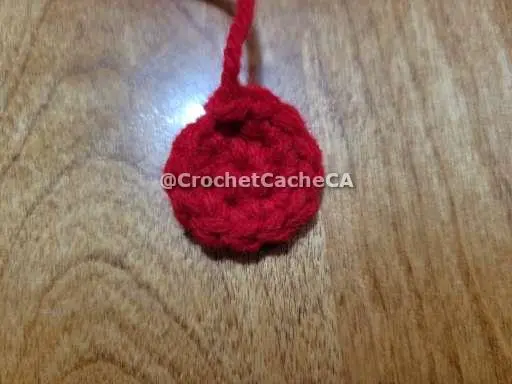
Image 6
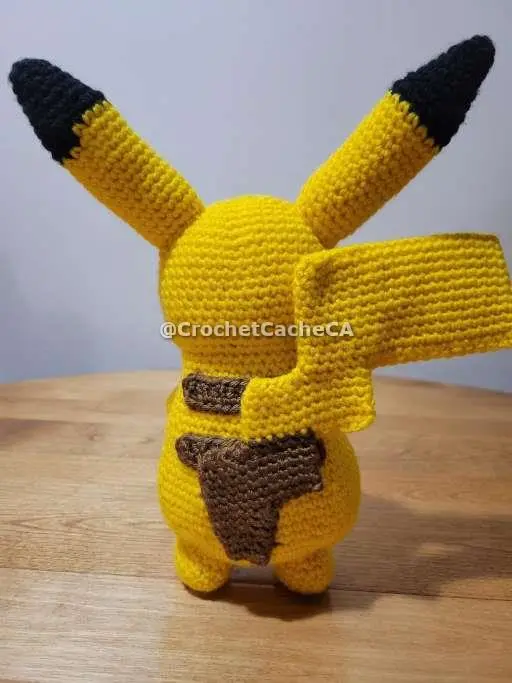
Back Stripes
**Make two**
The back stripes are where the pattern changes a bit. The stripes are not crocheted in the round but rather starts as a chain, you turn the work and crochet around using the stitch counts below.
| Rnd 1 | Brown - Chain 16, starting in the second stitch from the hook, 14sc, 3sc in the end stitch, 13sc, inc (32) - sl st, leave long tail to attach to back of Pikachu. Image 7 |
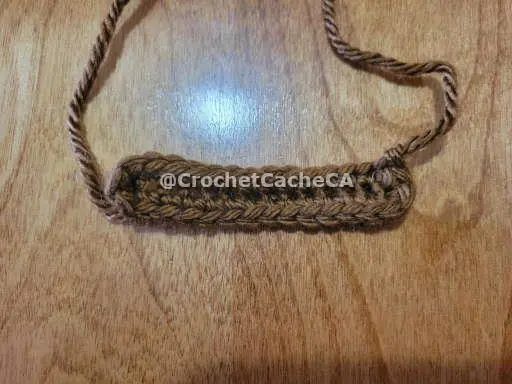
Image 7
Body
The body is worked in rounds. This is the base for which most parts are going to attach to. Make sure to use the same number of stitches as specified in the pattern.
| Rnd 1 | Yellow - 6sc in Magic Circle (6) |
| Rnd 2 | 6inc (12) |
| Rnd 3 | (1sc, inc) x 6 (18) |
| Rnd 4 | (2sc, inc) x 6 (24) |
| Rnd 5 | (3sc, inc) x 6 (30) |
| Rnd 6 | (4sc, inc) x 6 (36) |
| Rnd 7 | (5sc, inc) x 6 (42) |
| Rnd 8 | 6sc, 2inc, 2sc, dc, inc dc, dc, dc inc, dc, dc inc, 16sc, dc inc, dc, dc inc, dc, dc inc, dc, 2sc, 2inc (52) |
| Rnd 9 | 9sc, 16dc, inc, 9sc, inc, 16dc (54) |
| Rnd 10 | 10sc, inc, 7sc, inc, 7sc, inc, 10sc, inc, 7sc, inc, 7sc, inc (60) |
| Rnds 11-13 | 60sc (60) Image 8 |
| Rnd 14 | (8sc, inv dec) x 6 (54) |
| Rnd 15 | 54sc (54) |
| Rnd 16 | (7sc, inv dec) x 6 (48) |
| Rnds 17-19 | 48sc (48) |
| Rnd 20 | (6sc, inv dec) x 6 (42) |
| Rnds 21-23 | 42Sc (42) |
| Rnd 24 | (5sc, inv dec) x 6 (36) |
| Rnds 25-27 | 36sc (36) - sl st, leave long tail to attach to the head. Image 9 |

Image 8
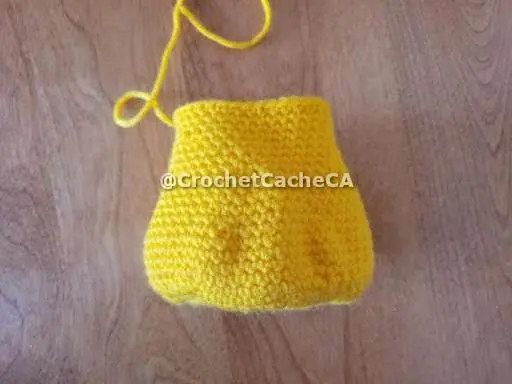
Image 9
Feet
**Make two**
The feet will be worked in rounds. Feet start off as an oval shape.
| Yellow - Chain 8 | |
| Rnd 1 | Starting in 2nd loop from the hook, 6sc, 3sc in the same loop, 5sc, 2sc in the same loop (16) |
| Rnd 2 | inc, 4sc, 5inc, 4sc, 2inc (24) Image 10 |
| Rnds 3-4 | 24sc (24) |
| Rnd 5 | 4sc, 5inv dec, 6sc, inv dec, 2sc (18) |
| Rnd 6 | 4sc, 3inv dec, 8sc (15) - sl st, leave long tail to attach to body Image 11 |
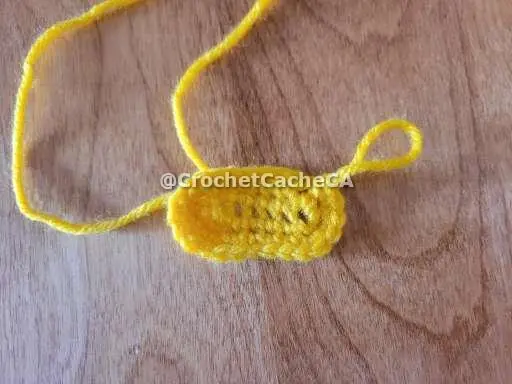
Image 10
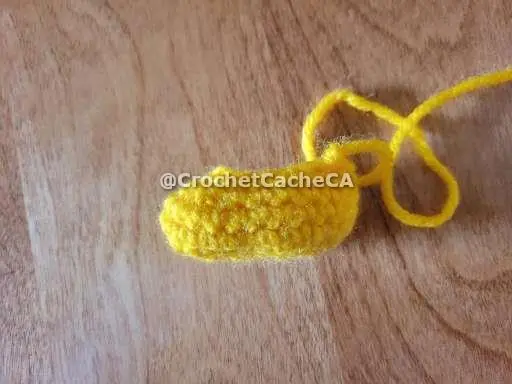
Image 11
Arms
**Make two**
The arm's are worked in rounds. Basically making tubes.
| Rnd 1 | Yellow - 6sc in Magic Circle (6) |
| Rnd 2 | 6inc (12) |
| Rnds 3-11 | 12sc (12) - sl st, leave long tail to attach to body Image 12 |
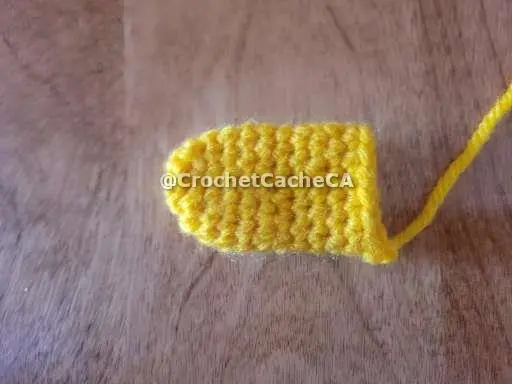
Image 12
Tail
The tail again is similar to the stripes where it starts in a chain and becomes rounds. But the tail is a bit tricky as there are multiple chain's to get the shape of the electric mouse's tail.
| Yellow - Chain 21 | |
| Rnd 1 | Starting 2nd loop from the hook, 19sc, 3sc in same loop, 18sc, inc (42) |
| Rnds 2-11 | 42sc (42) Image 13 |
| Rnd 12 | Crochet through both side of the tail connecting them as you SC throught them. Do this for 15 stitches, 6sc through one side of the tail. Chain 12, sc connecting back to the loop after you started chaining, 5sc (24) |
| Rnds 13-17 | 24sc(24) |
| Rnd 18 | Crochet through both side of the tail connecting them as you sc throught them. Do this for 6 stitches, cc Brown, 5sc through one side of the tail. Chain 12, sc connecting back to the loop after you started chaining, 5sc (24) |
| Rnd 19-23 | 24sc (24) |
| Rnd 24 | Crochet through both side of the tail connecting them as you sc throught them. Do this for 6 stitches, 12sc around the remaining open work. |
| Rnds 25-28 | 12sc (12) |
| Rnd 29 | 2sc, inv dec, 4sc, inv dec, 2sc (10) |
| Rnd 30 | 10sc (10) |
| Rnd 31 | 2sc, inv dec, 2sc, inv dec, 2sc (8) - sl st, leave long tail to attach to body, enough to stitch around the whole brown of the tail to attach it to the body. Image 14 |
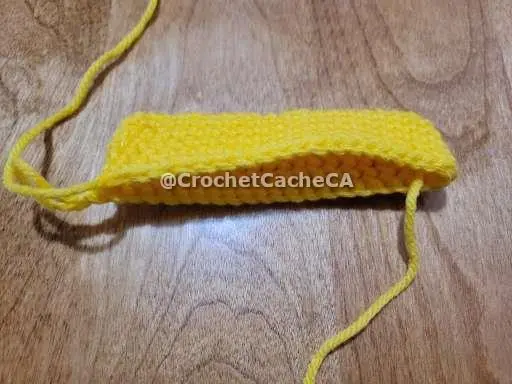
Image 13
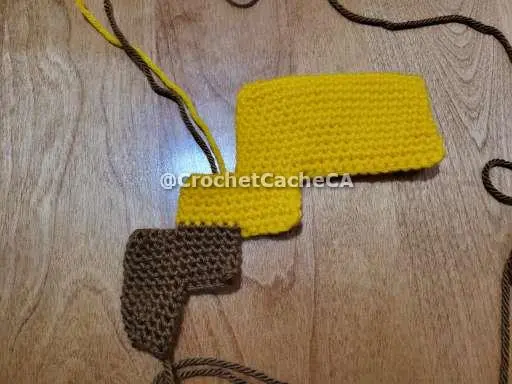
Image 14
Assembly
- - Attach the ears on the top/sides of the head. Image 15
- - Attach the bottom to the bottom fo the head, try leave a even space all around.
- - Flatten the arms and stitch them to the front/sides of the body. Image 16
- - Attach the cheeks on the sides of the face, just above the nose line. Image 17
- - Attach the feet to the bottom of the body, try keeps an even space and straight
- - Attach the stripes to pikachu's back. Image 18
- - Attach the tail near the bottom of the back of the body, attach along the brown of the tail to the body to give it strength. Image 19
YOUR DONE!
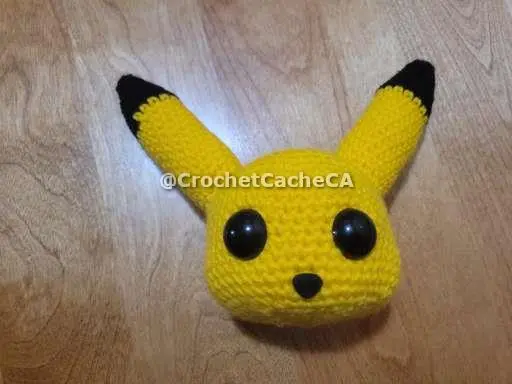
Image 15

Image 16
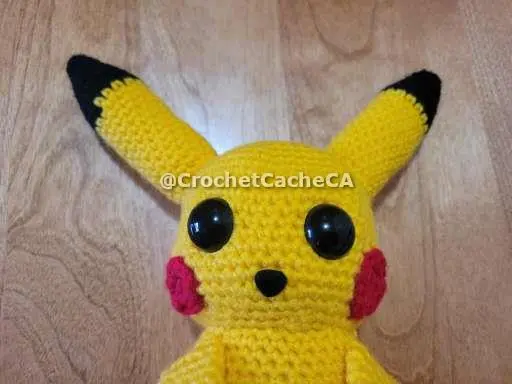
Image 17
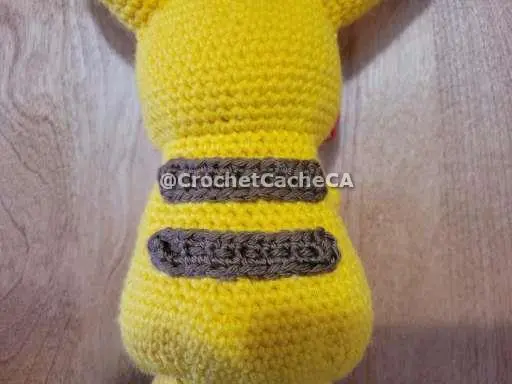
Image 18
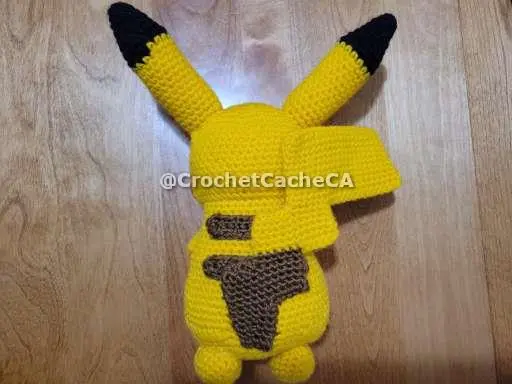
Image 19
Conclusion
Now you have a Pikachu! I hope that you enjoyed making this pattern and that it was easy for you. If not, try to keep up with your stitching practice. It takes time and patience, but it is rewarding when done correctly. You can use this technique on anything from clothes or accessories to furniture and home decor items like pillows or rugs! Have fun creating a completely new world of possibilities!